Want to run a European company from anywhere in the world? Estonia’s e-Residency programme makes it possible. I applied from a café in Ecuador and had my EU-based company live, with a business bank account, in under 37 days.
Table of Contents
- Step 1: Applying for Estonian e-Residency
- Step 2: Picking up the e-Residency kit in London
- Step 3: Activating your digital ID
- Step 4: Choosing a business service provider
- Step 5: Company formation
- Step 6: Opening a Revolut Business account
- Step 7: Accounting with Envoice
- Costs breakdown
- Final thoughts: Worth it?
- Can non-nomads use this too?
This post covers every step of the Estonian e-Residency process, from application to business setup, including:
- What you need to apply (spoiler: a selfie stick helped)
- The appointment that has to be in person
- Who I chose to establish my company
- How it was established in less than 3 days
- How I opened a Revolut Business account in 24 hours
- What it’s like using Envoice (Estonia’s answer to Xero)
- And how much it all costs
 Step 1: Applying for Estonian e-Residency
I kicked off the e-Residency application on Estonia’s official site on 15 March, sat at a table in Ecuador. The online form takes around 30 minutes and you can do it from anywhere.
You’ll need to upload a few things:
- A statement about what your business will do and how it contributes to the Estonian economy (Yes, I used ChatGPT for this)
- A passport-style headshot (I used my phone + selfie stick)
- A photo of your passport
- A link to your LinkedIn or other social media
- An up-to-date CV
Once submitted, I received an email telling me to allow up to 30 days for my submission to be processed, allowing for any additional questions if required. Thankfully, I have a relatively unique name and there’s plenty of information about me online, which makes risk-screening a doddle, I’m sure. After what felt the longest time, without fanfare, I got an email saying I’d been approved after just 16 days. That’s it. No calls or checks—just quiet Estonian efficiency. Compare that to a similar process I’m going through with the UK government at the moment, that quoted up to 20 working days, we’re closing in on 30 working days and counting. Typical. Anyway, more on that in a future blog post.
Cost: €150 (~£125) Time: 16 days
Step 2: Picking up the e-Residency kit in London
Thirteen days after approval, I received a confirmation email that my e-Residency kit was ready for collection in London. You can pick from a number of locations all across the globe. In cities where Estonia has a foreign mission, such as London, you can choose from multiple appointments per week but where they don’t, such as Buenos Aires for example, there are limited times per year as to when you can visit, as you need to wait for a visiting representative.
With that said, I was quite surprised at the low number of appointments available each day in London, considering it’s a permanent foreign mission and the appointment only takes ten minutes. I had to book an appointment about two weeks down the line because availability was quite awkward and difficult to line-up with trains.
This is the only part that needs to be done in person, once you book your appointment online, you’ll receive confirmation and that’s that. I booked my £100 off-peak return train (classic UK) and then paid £6 for a bottle of water at a café (classic London), whilst I waited for my appointment.
When you arrive at the appointment, you head into the basement of the embassy and the person at the counter will handle the process, which is all straight-forward.
 At the appointment:
- I showed my passport
- Scanned both index fingers
- And was handed my e-Residency kit
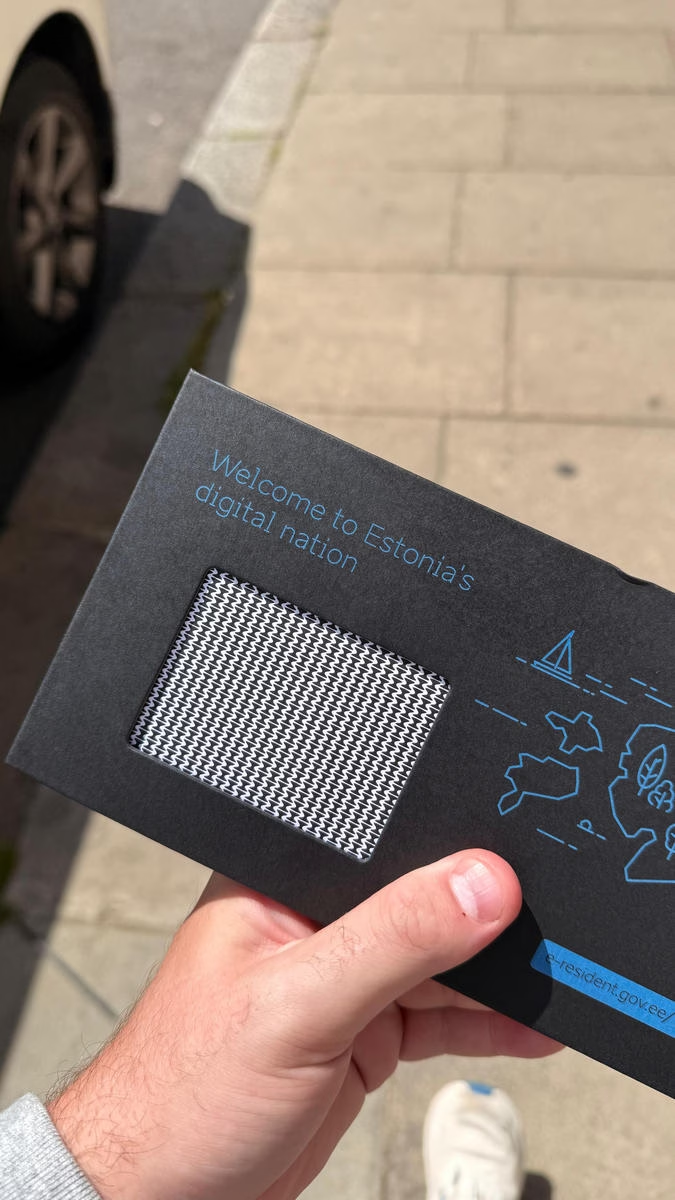
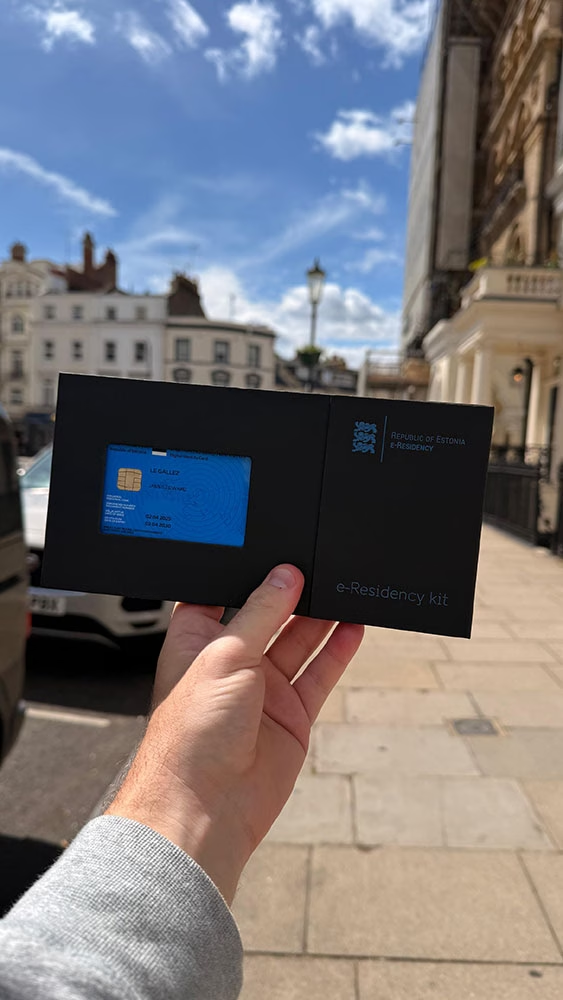
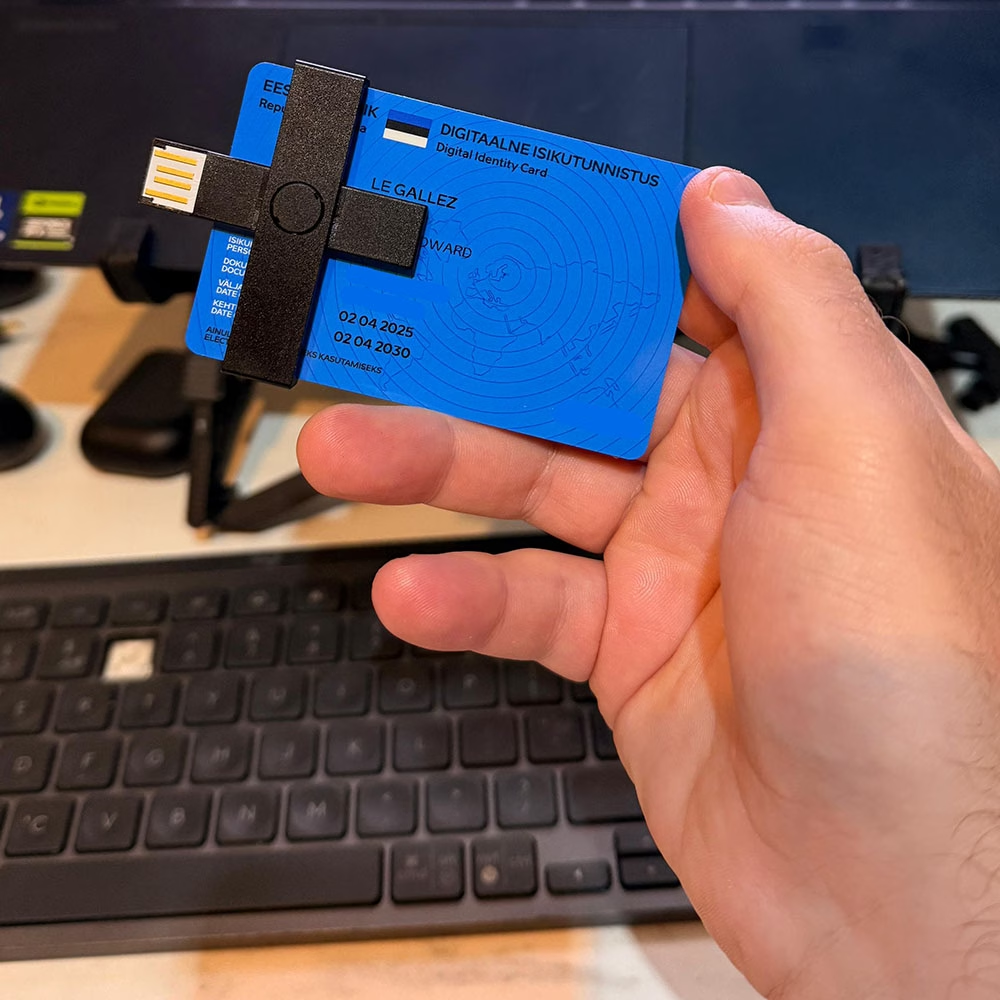
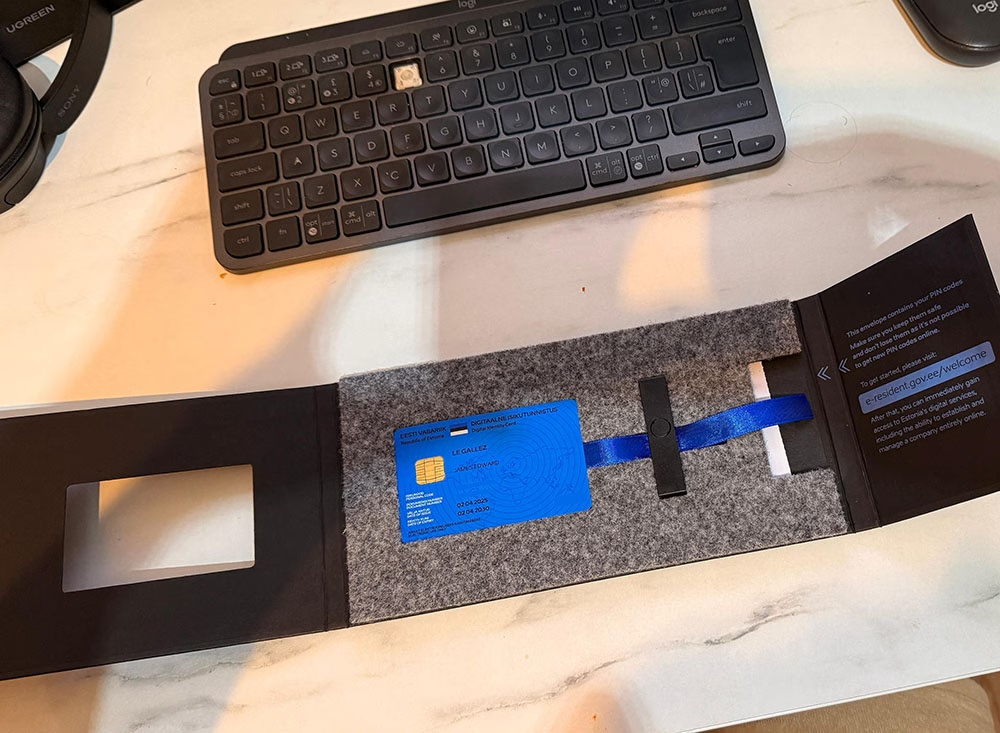
And what a cool little kit it is! It comes in this nice black presentation box quoting “Welcome to Estonia’s digital nation” and inside is my e-residency card, which is a chipped card that acts as my proof of e-residency and a little USB card reader.
The card wasn’t activated yet, the validation process kicks off once you collect it (behind the scenes) and can take up to 24 hours.
Cost: Effectively £0 but shafted by a £100 train to London. Time: 13 days (plus 7 hours of miserable English trains with less legroom than a Ryanair flight)


Step 3: Activating your digital ID
Later that evening, I received the email confirming my digital identity was ready, about 7 hours after collection. The next morning, I followed the instructions in the kit to:
- Install the ID card software
- Add the browser extension (works with Chrome, Firefox, Edge)
- Plug in the card reader
And you know what? It just worked. Immediately. No tech support, no shitty drivers. Have you ever tried using Barclays’ PINsentry? Good lord, give me strength.
Step 4: Choosing a business service provider
Once your e-residency is set up you can proceed to start the formation of your Estonian business. Whilst I think you can, apparently, do this yourself, I’d rather leave it to the professionals, so I began the search for a provider as you need quite a few things:
- Legal business address and contact point in Estonia
- Estonian accounting and taxes, including Annual Report
- Physical mail forwarded
There are a few other things as well that go with the incorporation and there are a lot of providers out there that offer an all-under-one-roof service for a monthly fixed fee, and it’s way cheaper than you think. You can search providers through the e-Residency marketplace, here.
You need an Estonian legal address and contact person to start a company. That’s where service providers come in. I initially chose Xolo, but they launched a pricing promotion when I was halfway through my process and said I wasn’t eligible even though I hadn’t finished, it gave me a bit of a bad vibe so I swapped.
Step 5: Company formation
I switched to e-Residency Hub—slightly higher-rated (4.9 vs 4.8) on the official marketplace and €35/month cheaper than Xolo. That’s a lot of money to a start-up, so I switched without delay.
Their signup process was a lot faster too, less information required – albeit less polished than Xolo (they’ve got a really cool UI). Once I’d uploaded my documents, I received this timeline:
- Within 2 days: You’ll receive an email asking to confirm your email via the Estonian Business Registry
- After confirmation: Digitally sign company establishment documents with your e-ID
- Within 3 working days: Receive confirmation of your company formation
And that’s exactly what happened. Within a week, I had a registered Estonian OÜ. Even the name “Edward and James” made it through, despite a warning about a potential trademark issue. And the amazing thing was that my company was registered in a matter of hours. Yes, hours. I’ve never seen efficiency like it.
P.S. If your name is rejected, don’t worry though, you can choose another one at no extra cost.
Cost: €295 one-time fee plus €72/mo ongoing. Time: 6 days (including a weekend)
 Step 6: Opening a Revolut Business account
Next up: a business bank account. I went with Revolut Business, which integrates nicely with Estonia’s company register, making company validation really easy. I’ve used Revolut as my primary personal bank account for about five years now and I don’t have a single bad word to say about it.
It was meant to take a few hours but Revolut ran into some confusion with my nationality and then their website shit the bed, but we got there in the end.
Still, under 24 hours later, my account was open. Traditional banks could never.
- No paperwork
- Instant EUR/GBP/USD multi-currency support
- Real-time sync with Estonian registry
Cost: £10/mo Time: 1 day
Step 7: Accounting with Envoice
And the final step? Sending bills so I can get paid! With e-Residency Hub, you’re required to use Envoice, Estonia’s answer to Xero, almost.
It’s not pretty, but it does the job, except one limitation that I’ve noticed so far: no recurring invoices. That’s going to get on my nerves long-term.
You can’t customise much either, but that’s the point: ERHub handles tax returns, accounting and reporting. You just upload your invoices and expenses.
Cost: £0 Included in ERHub’s €74/month package. Time: 1 day
Costs breakdown
One-off costs
| Item | Cost |
|---|---|
| e-Residency application | €150 |
| Company incorporation | €295 |
| Total one-off cost | €445 |
Ongoing monthly costs
| Item | Cost |
|---|---|
| e-Residency Hub | €74 |
| Revolut Business | £10 |
| Envoice (via ERHub) | Included |
| Total monthly cost | €74 + £10 |
Final thoughts: Worth it?
I now run an EU company from anywhere in the world. I opened it from Ecuador, validated it in London and manage everything online with Estonian efficiency.
Honestly, I am in complete awe of Estonia and how they have digitised their government top to bottom, any other jurisdiction should look on in wonder, it’s a technological marvel. Meanwhile my hometown’s tax office is up to five year’s behind with personal tax returns 😅
The whole process took 37 days from start to finish and I’ve genuinely been so impressed at the efficiency and cost of it all. Viva Estonia!
Can non-nomads use this too?
The best thing about it is, you don’t have to be a nomad to do it either… so if you’re bored to tears with the bureaucracy of your country and just want to run a legitimate company and get it up-and-running quickly with minimal costs, this is the way to go…
—
Got questions about the Estonian e-Residency process? Drop them in the comments or head over to e-resident.gov.ee.
Looking for advice on life as a digital nomad, check out my advice section – or if you’re looking for destination inspiration, check out my growing database of trip reports for digital nomads.